7 Crucial Steps For A Stylish Low Maintenance Shower Installation
Showers are an essential part of any bathroom, and they can be a great way to add style and functionality to your space. But if you’re looking for a low-maintenance shower installation, there are some important steps you need to take. Here are seven crucial steps for a stylish low-maintenance shower installation.
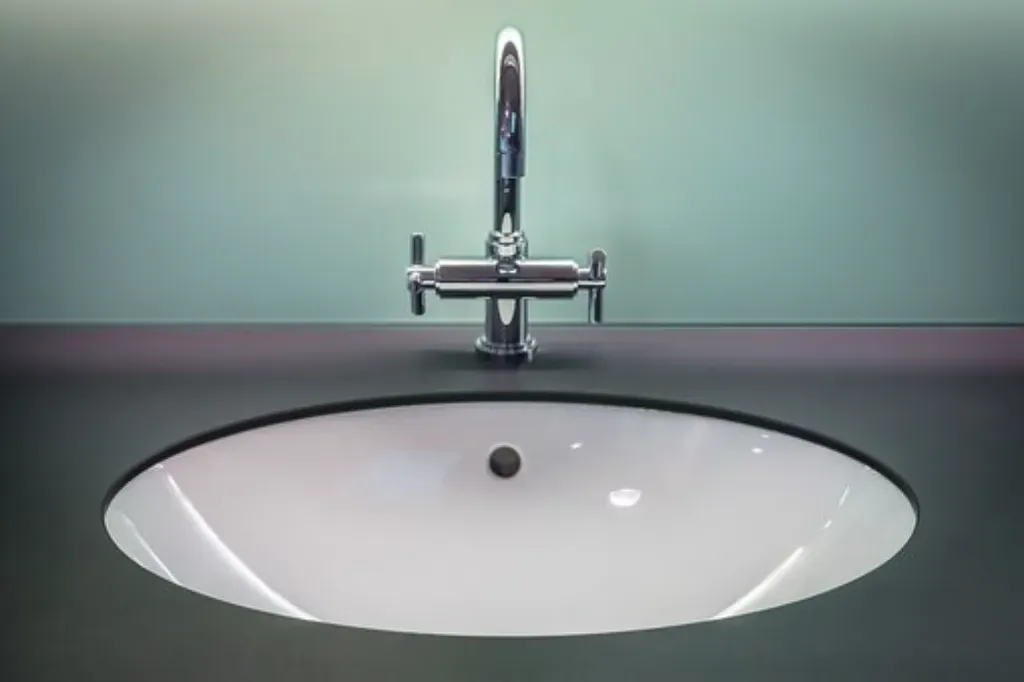
1. Choose the Right Shower Fixtures
The first step in creating a low-maintenance shower installation is choosing the right fixtures. Look for fixtures that are easy to clean and maintain, such as those made from stainless steel or brass. Avoid plastic fixtures, as these can become discolored over time and require more frequent cleaning. Additionally, look for fixtures with minimal crevices and grooves, as these can trap dirt and grime and make them harder to clean.
When it comes to choosing the right showerhead, look for one that has adjustable settings so you can customize your water pressure and temperature. This will help reduce water waste and save energy costs in the long run. Additionally, consider investing in a handheld showerhead, which can be used for rinsing off after a bath or washing your feet without having to stand up in the shower.
Finally, consider installing a rain showerhead for a luxurious spa-like experience. Rain showerheads come in various sizes and styles, so you’ll be sure to find one that fits your aesthetic preferences.
2. Select Durable Tiles
The next step is selecting durable tiles for your shower walls and flooring. Ceramic tiles are an excellent choice because they’re waterproof, stain-resistant, and easy to clean. Porcelain tiles are also a good option because they’re highly durable and come in a variety of colors and patterns. If you want something more unique, consider using natural stone tiles like marble or granite for an elegant look.
When it comes to grout, opt for epoxy grout instead of traditional cement grout because it’s more resistant to mold and mildew growth. Additionally, epoxy grout is easier to clean since it doesn’t absorb liquids like traditional grout does.
3. Install Quality Sealing Materials
Once you’ve chosen the right fixtures and tiles for your shower installation, it’s time to install quality sealing materials around the edges of the walls and flooring. This will help prevent water from seeping into other areas of your bathroom or home and causing damage over time. Look for silicone sealants that are specifically designed for use in wet areas like showers since they provide superior protection against moisture penetration.
Additionally, make sure all seams between tiles are properly sealed with caulk or grout sealer to prevent water from seeping through cracks or gaps between tiles. This will help keep your shower looking great while also preventing costly repairs down the line due to water damage caused by leaks or moisture buildup behind the walls or flooring.
4. Invest in Quality Drainage Systems
In order to ensure proper drainage during your low-maintenance shower installation, invest in quality drainage systems such as linear drains or trench drains that allow water to flow away from the shower area quickly and efficiently without pooling on the floor or walls of your bathroom. Linear drains are especially beneficial because they don’t require any additional framing or support structures like traditional drains do, making them easier to install and maintain over time.
5. Use Waterproof Paint
To protect your walls from moisture damage during your low-maintenance shower installation, use waterproof paint on all surfaces that will come into contact with water during use such as tile walls or floors near the drain area of the shower stall. Waterproof paint helps create an impermeable barrier between surfaces that prevents moisture from seeping through cracks or gaps between tiles while also providing extra protection against mold growth due to humidity buildup inside the stall itself.
6 .Install Non-Slip Flooring
To ensure safety during use of your low-maintenance shower installation, install non-slip flooring such as textured tile or rubber mats on all surfaces that may become wet during use such as near the drain area of the stall itself or along the edges of tiled walls where water may splash onto them during use of the showerhead itself . Non-slip flooring helps reduce slips and falls while also providing extra traction when stepping out of the stall after use which helps reduce potential injuries due to slipping on wet surfaces inside the stall itself .
7 .Choose Easy To Clean Accessories
Finally , choose accessories that are easy to clean such as soap dishes , shelves , towel racks , etc . These items should be made from materials that won’t corrode easily when exposed to moisture such as stainless steel , brass , chrome , etc . Additionally , look for accessories with minimal crevices where dirt can accumulate which makes them harder to clean over time .
- Choose The Right Shower Fixtures: Look for fixtures that are easy to clean and maintain such as those made from stainless steel or brass.
- Select Durable Tiles: Ceramic tiles are an excellent choice because they’re waterproof, stain-resistant, and easy to clean.
- Install Quality Sealing Materials: Look for silicone sealants that are specifically designed for use in wet areas like showers.
- Invest In Quality Drainage Systems: Linear drains are especially beneficial because they don’t require any additional framing.
- Use Waterproof Paint: Waterproof paint helps create an impermeable barrier between surfaces that prevents moisture from seeping through.
- Install Non-Slip Flooring: Non-slip flooring helps reduce slips and falls while also providing extra traction when stepping out of the stall after use.
- Choose Easy To Clean Accessories: Look for accessories with minimal crevices where dirt can accumulate which makes them harder to clean over time.