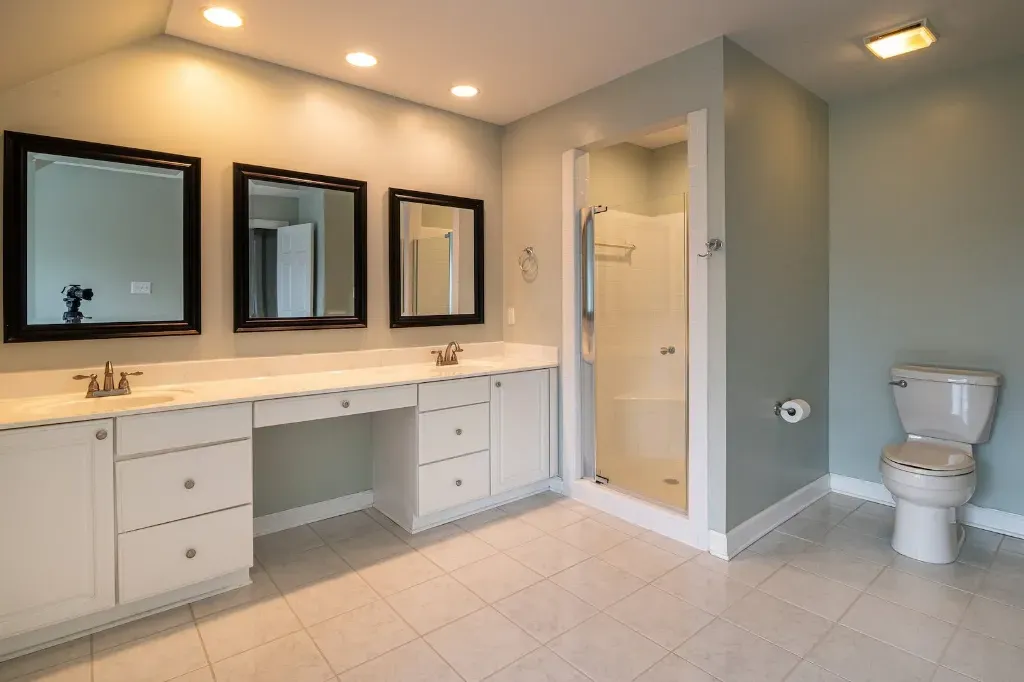
Step-By-Step Guide To Cement Board Installation For Your Bathroom Remodel
Cement board is a great choice for bathroom remodeling projects. It is durable, waterproof, and easy to install. In this step-by-step guide, we will show you how to install cement board in your bathroom for a successful remodel.
Step 1: Prepare the Area
Before you begin installing the cement board, it is important to prepare the area. Start by removing any existing tile or drywall from the walls. If there are any nails or screws in the wall, make sure to remove them as well. Once all of the old material has been removed, use a putty knife to scrape off any remaining adhesive or grout.
Next, inspect the walls for any cracks or holes that need to be filled. Use a patching compound to fill in any gaps or cracks in the wall. Allow the patching compound to dry completely before moving on to the next step.
Finally, use a level and tape measure to make sure that the walls are even and straight. This will ensure that your cement board installation goes smoothly.
Step 2: Measure and Cut Cement Board
Once you have prepared the area, it’s time to measure and cut the cement board. Start by measuring each wall and marking where you need to cut the cement board with a pencil. Make sure that you leave at least 1/8 inch of space between each piece of cement board for expansion.
When cutting the cement board, use a utility knife or circular saw with a carbide blade. Wear safety glasses when cutting and be sure to follow all safety instructions provided by the manufacturer.
Once all of your pieces are cut, lay them out on the floor so that you can double check your measurements before installing them on the wall.
Step 3: Install Cement Board
Now it’s time to start installing your cement board! Begin by applying an even layer of thinset mortar onto one section of wall using a notched trowel. Then press one piece of cement board into place and secure it with galvanized nails or screws.
Continue this process until all of your pieces are installed. Make sure that you leave at least 1/8 inch of space between each piece for expansion. Once all of your pieces are installed, use a damp sponge to wipe away any excess mortar.
Allow the mortar to dry completely before moving on to the next step.
Step 4: Seal Seams
Once all of your pieces are installed and dry, it’s time to seal the seams between each piece of cement board. Start by applying an even layer of thinset mortar over each seam using a notched trowel.
Then press fiberglass mesh tape into place over each seam and smooth it out with your fingers. Finally, apply another layer of thinset mortar over top of the tape and allow it to dry completely before moving on.
Step 5: Apply Waterproof Membrane
The final step in installing cement board is applying a waterproof membrane over top of it. Start by applying an even layer of waterproof membrane over each section of wall using a paint roller or brush.
- Make sure that you cover every seam and corner with membrane.
- Allow each section to dry completely before moving on.
Apply additional coats if necessary until you have achieved full coverage.
Conclusion
Installing cement board in your bathroom is an easy way to give your bathroom an updated look while also protecting it from water damage. By following these steps, you can ensure that your bathroom remodel goes smoothly and looks great!


